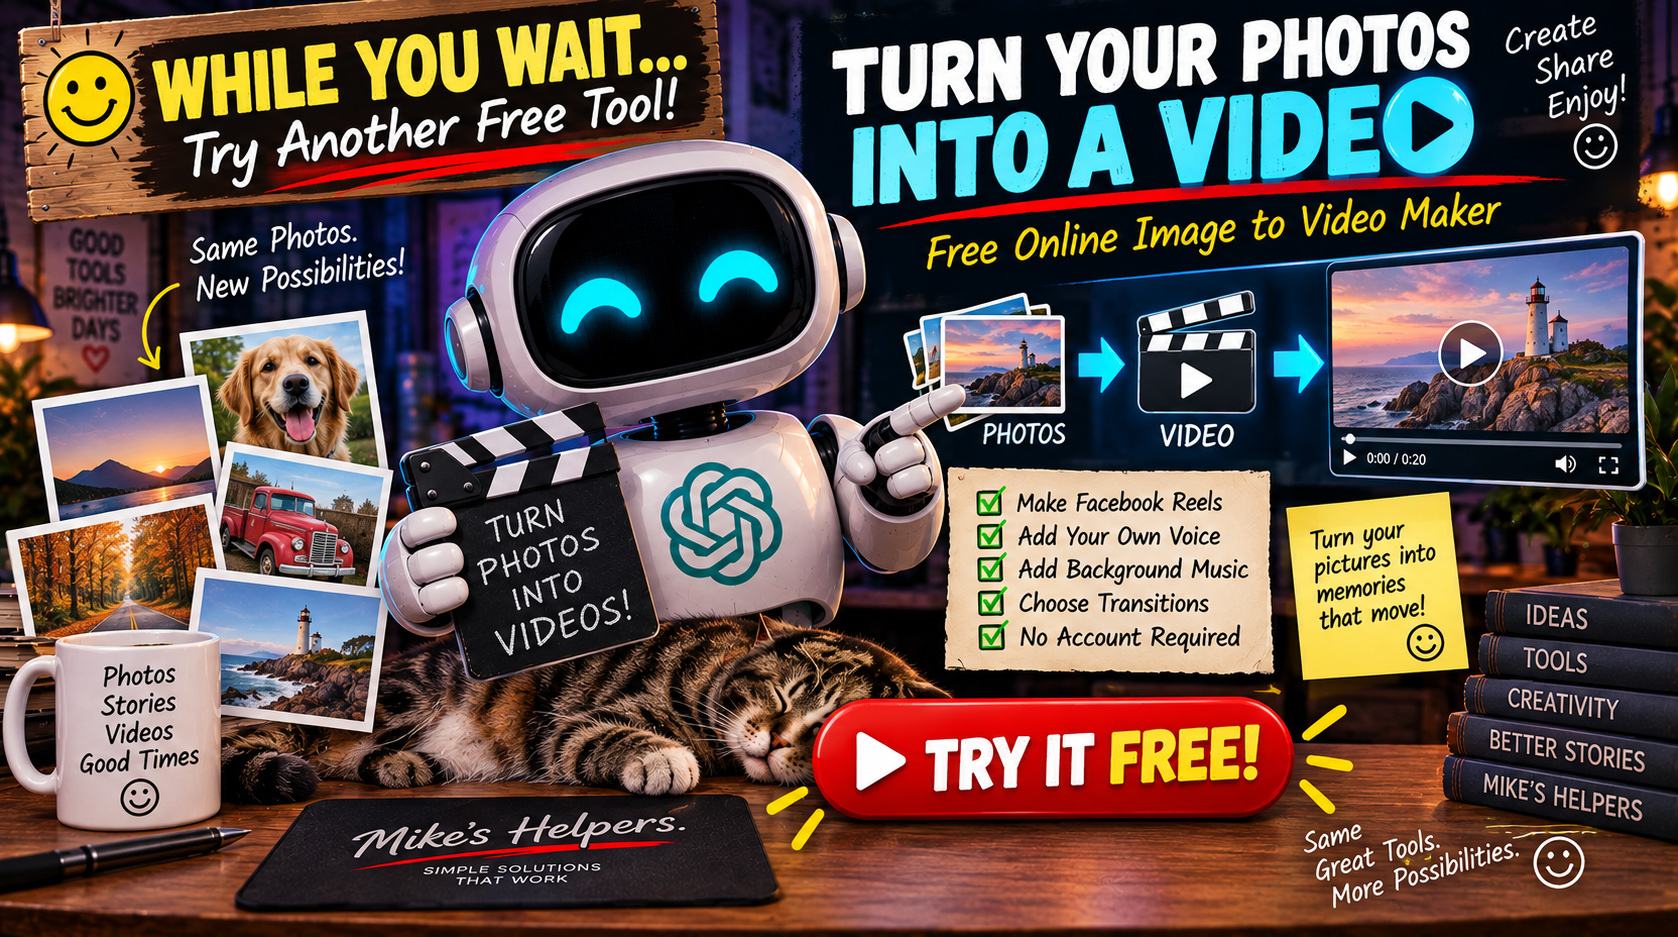
Turn your favorite photos and images into a video without uploading them to a video-processing service. The free Online Image to Video Maker from Mike’s Helpers lets you arrange images, control how long each one appears, add transitions, mix voice and background music, and create a downloadable video directly in your browser.
Create landscape videos, square videos, or vertical 9:16 videos for Facebook Reels and other social media. No account or complicated video editor is required.
🎬 Online Image to Video Maker
Turn JPG, PNG, WebP images and short MP4 clips into one video directly in your browser. Arrange them in any order, set image timing, choose an aspect ratio, preview the result, and add voice, music, or both.
Image / Video Timeline
Drag images and short MP4 clips to reorder them. Each timeline item can have its own effect. Zoom B starts at normal size and slowly pushes into the image. MP4 clips may be up to 10 seconds each.
🎙️ Voice / Narration
No voice selected
🎵 Background Music
No music selected
Turn Images Into a Video Online
The Online Image to Video Maker combines JPG, PNG, and WebP images into a video using your browser.
Add your images, put them in the order you want, choose how long they should remain on screen, and preview the finished sequence before generating the video.
You can create a simple silent slideshow or add narration, background music, or both.
How to Use the Online Image to Video Maker
Creating a video takes just a few steps.
- Click Add Images and select your JPG, PNG, or WebP images.
- Choose a video aspect ratio.
- Set how many seconds each image should appear.
- Arrange the images in the order you want.
- Choose a crossfade transition or hard cut.
- Add optional voice narration, background music, or both.
- Adjust the voice and music volume levels.
- Use Play Preview to check your video.
- Click Generate Video.
- Download the finished WebM video.
The video is generated locally using browser technology rather than uploading your images to a remote video-processing server.
Create Vertical 9:16 Videos for Reels
Need a vertical video?
Select 9:16 Vertical / Reel before generating your video.
The vertical format is useful for Facebook Reels and other social media posts designed for phone screens.
Your images are fitted inside the vertical video frame without requiring you to manually resize every source image first.
Create 16:9 Landscape Videos
Choose 16:9 Landscape for a traditional widescreen video.
This format works well for general video projects, presentations, website videos, and other situations where you want a horizontal frame.
Create Square 1:1 Videos
The 1:1 Square option creates a square video.
Square video can be useful for social posts and projects where you do not want a wide landscape or tall vertical frame.
Changing the aspect ratio changes the dimensions of the generated video, not just the size of the preview on the page.
Arrange Images in Any Order
Once your images are loaded, they appear in the Image Timeline.
You can drag images into a different position or use the arrow controls to move them left or right.
This makes it easy to tell a story in order.
For example, you could arrange:
- Before-and-after photographs
- Step-by-step DIY images
- Vacation photographs
- Historical photographs
- Product images
- Costume or makeup steps
- Artwork or illustrations
- Event photographs
You can also remove an image without starting the entire project again.
Control How Long Each Image Appears
Not every image needs to remain on screen for the same amount of time.
Set a general Seconds Per Image value and use Apply Equal Duration when you want every image to have matching timing.
You can also change the duration of individual images.
For example, an important opening image might remain on screen for five seconds while several supporting images appear for three seconds each.
This gives you more control over the pacing of the finished video.
Add Crossfade Transitions
Choose Crossfade for a smooth transition between images.
As one image ends, the next image gradually appears.
If you prefer an immediate change between images, choose Hard Cut.
Hard cuts can work well for faster videos, while crossfades can give photo slideshows and narrated videos a smoother feel.
Add Voice Narration to Your Image Video
Want to explain what viewers are seeing?
Use the Voice / Narration section to add an audio recording.
Narration can turn a basic collection of photographs into a more complete presentation.
You could use voice narration to tell a story, explain a DIY project, describe historical photographs, introduce products, or provide commentary while the images appear.
The Voice Volume control lets you adjust how loud the narration will be in the finished video.
Add Background Music
You can also add a separate music file.
Background music can make a simple image video feel much more finished, but it should not overpower narration when both are being used.
The Music Volume slider lets you reduce or increase the music independently from the voice track.
The default music level is lower than the voice level, giving you a practical starting point for narration with music underneath it.
Mix Voice and Background Music
One of the most useful features of the Online Image to Video Maker is the ability to use two audio sources at the same time.
You can create a video with:
- No audio
- Voice narration only
- Background music only
- Voice narration and background music together
Voice and music have separate volume controls.
For a narrated video, you might leave the voice near full volume while lowering the background music until it sits comfortably underneath the narration.
The two audio sources are mixed together locally when the video is generated.
Preview Your Image Video Before Creating It
Click Play Preview to watch the image sequence before generating the final video.
The preview lets you check the image order, timing, aspect ratio, and transitions.
If something does not look right, stop the preview and make your changes before generating the video.
This can save time compared with repeatedly generating a finished video just to check the image sequence.
Choose 24 FPS or 30 FPS
The tool provides two frame-rate options:
- 24 FPS
- 30 FPS
For most image videos, either option will work.
The default 30 FPS setting is a practical choice for general-purpose videos and social media.
Create Videos Without Uploading Your Images
The Online Image to Video Maker performs its image and audio processing locally in your browser.
Your source images and audio files do not need to be uploaded by this tool to a remote video-processing server to create the video.
The browser handles the image rendering, audio mixing, and video recording on your device.
This also means that video-generation speed can depend on your computer, browser, video length, image sizes, and other local factors.
No AI or API Required
This is not an AI video generator.
The tool does not invent motion, animate a person’s face, or generate new scenes from a photograph.
Instead, it creates a video from the actual images you select.
It also does not require an external AI API to process your images.
That makes it useful when you simply want to turn a group of existing pictures into a video without sending them through a generative AI service.
Make a Video From Photos for Facebook
Image videos can be an easy way to reuse photographs and graphics you already have.
For example, instead of posting six individual photographs, you could arrange them into a short video, add narration or music, and create one finished presentation.
For a vertical Facebook Reel, choose 9:16 Vertical / Reel.
For a traditional horizontal video, choose 16:9 Landscape.
The generated WebM video format can be used with services and software that support WebM video.
Use Your Own Voice With Background Music
A voice-and-music combination can be particularly useful for short informational videos.
Record the narration separately, then add it to the Voice / Narration track.
Add your music to the Background Music track.
Keep the narration loud enough to understand and reduce the music until it supports the voice rather than competing with it.
Because each track has its own volume control, you do not have to edit the two audio files together before using the tool.
Image to Video Maker for DIY Projects
A series of still photographs can show the progression of a project surprisingly well.
For example:
- Show the materials first.
- Show each major construction step.
- Add close-up photographs where necessary.
- Finish with the completed project.
- Add narration explaining the important steps.
- Use quiet background music underneath the voice.
The result can be a simple instructional video made entirely from photographs and audio you already have.
Image to Video Maker for Before-and-After Videos
Before-and-after projects are another good fit.
Start with the original photograph, add several progress images, and finish with the completed result.
You can give the final photograph a longer duration so viewers have more time to see the finished work.
This can work for restorations, costumes, crafts, decorating projects, collectibles, repairs, and other visual transformations.
What Image Formats Can I Use?
The tool accepts common web image formats:
- JPG and JPEG
- PNG
- WebP
You can combine supported image formats in the same project.
What Video Format Does the Tool Create?
The current version generates a WebM video.
WebM is a web video format supported by modern browsers and many online services and applications.
Browser support and service upload requirements can change, so check the requirements of the website or software where you plan to use the finished video.
Why Does Video Generation Take Time?
When you click Generate Video, the browser renders the image sequence and records the finished presentation locally.
The process therefore takes approximately the length of the finished video rather than instantly converting it on a remote server.
For example, a 30-second image video will generally require roughly that amount of time to render, plus a little processing time.
The progress bar shows the generation process.
Does the Preview Size Affect Video Quality?
No.
The player shown on the webpage is intentionally kept at a manageable size so it does not take over the entire screen.
The preview’s display size is separate from the resolution used to generate the finished video.
A smaller on-page preview does not mean the downloaded video is being generated at that small display size.
Tips for Better Image Videos
A few simple choices can improve the finished result.
- Put your strongest image first.
- Keep related images together.
- Use similar image orientations when possible.
- Give important images a little more screen time.
- Use crossfades for a smoother slideshow.
- Use hard cuts when you want faster pacing.
- Keep narration easy to understand.
- Lower background music when using narration.
- Preview the entire sequence before generating it.
- Choose the aspect ratio based on where you plan to use the video.
You do not need complicated editing to make a useful image video. Good images, sensible timing, and clear audio can do most of the work.
Free Video Converter and Crop Editor: 7 Powerful Ways to Edit Videos
🎬 Free Video Converter and Crop Editor Turn Long Videos Into Exactly What You Need Have you ever received a video that was almost perfect for your project? Maybe it was too long, the wrong shape, or saved in a…
Behind the Online Image to Video Maker
Mike’s Helpers tools are designed around a simple idea: useful jobs should not always require installing another program, creating another account, or paying for another online service.
The Online Image to Video Maker follows that approach.
The images are drawn into a browser canvas, optional voice and music are mixed locally, and the browser records the finished sequence as a video.
It is intentionally a focused tool rather than a full professional video editor.
If you need to turn a handful of images into a short video, Reel, narrated presentation, or photo slideshow, you can do it without learning an entire video-editing program first.
🧠 Frequently Asked Questions
Is the Online Image to Video Maker free?
Yes. You can use the tool without creating an account.
Do I have to upload my images?
No. The selected images are processed locally in your browser rather than uploaded to Mike’s Helpers for video processing.
Can I make a vertical Reel?
Yes. Choose 9:16 Vertical / Reel before creating the video.
Can I make a landscape or square video?
Yes. Choose 16:9 Landscape for widescreen video or 1:1 Square for square video.
Can I change the order and timing of my images?
Yes. Drag the images into position or use the arrow buttons. You can also set a different duration for each image.
Can I add my own voice?
Yes. Add an audio recording to the Voice / Narration track and adjust its volume.
Can I add background music?
Yes. Background music has its own audio track and volume control.
Can I use voice and music at the same time?
Yes. The tool mixes voice narration and background music together while giving each its own volume control.
Can I make a video without sound?
Yes. Voice and music are both optional.
Can I preview my video before creating it?
Yes. Click Play Preview to check the image order, timing, aspect ratio, and transitions before generating the video.
What video format does it create?
The current version creates a WebM video.
Does this tool use AI to animate my pictures?
No. It creates a video from the actual images you select. It does not use generative AI to animate or change the images.
Does the smaller preview reduce the finished video quality?
No. The size of the preview on the webpage is separate from the resolution of the generated video.
Why does generating the video take a little time?
The finished video is rendered locally in your browser, so generation takes roughly the length of the video itself.
Do I need to install anything?
No. The Online Image to Video Maker runs in a compatible modern web browser.
Need Help?
Found a problem or have an idea for another useful browser tool? Visit the Mike’s Helpers support page.
This site is ad-supported and free to use. If one of the tools helped you today, feel free to leave a tip.